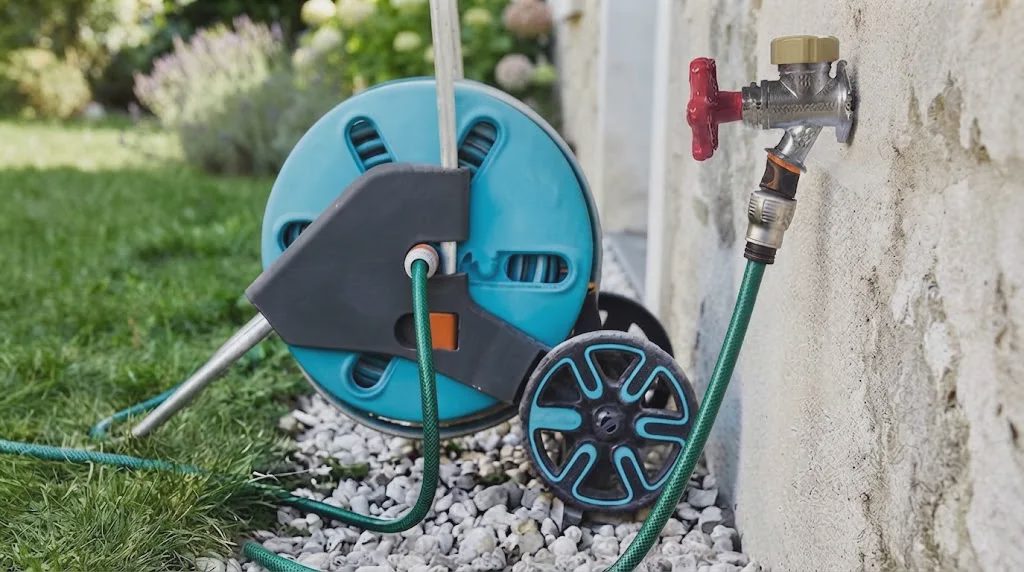
Last spring the hose bib on the side of my Pasadena house started dripping every time I shut it off. Not a full spray—just a steady weep from the top. My first thought was that I’d have to replace the whole frost-free faucet. I’ve replaced enough of them on client rehabs to know it can turn a small leak into a bigger plumbing afternoon: new faucet, possible shutoff issues, more time than the part is worth.
I wasn’t thrilled about that. Not because the faucet itself is expensive, but because replacing an old outdoor faucet often means dealing with seized threads, mismatched fittings, or discovering the supply line isn’t as clean as you hoped. Before I ordered a full replacement, I pulled the decorative cap off the vacuum breaker. The rubber seat had a chunk missing and the O-rings were flattened. The faucet body itself still looked solid. That changed the plan.
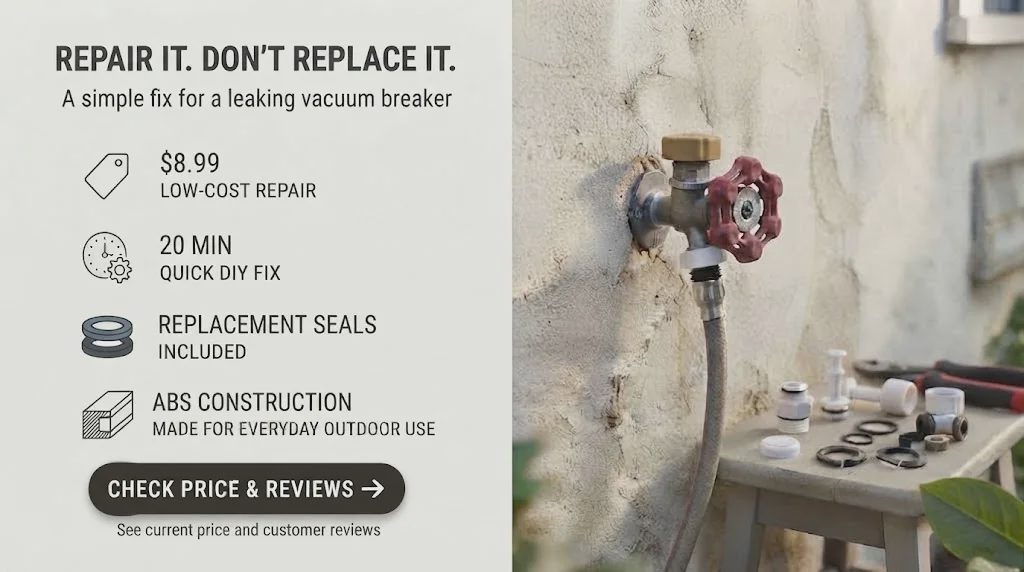
Instead of a full swap I ordered an anti siphon valve repair kit for $8.99. Here’s the actual decision, the install, what worked, and when I would have stopped and replaced the whole thing.
What Was Actually Leaking
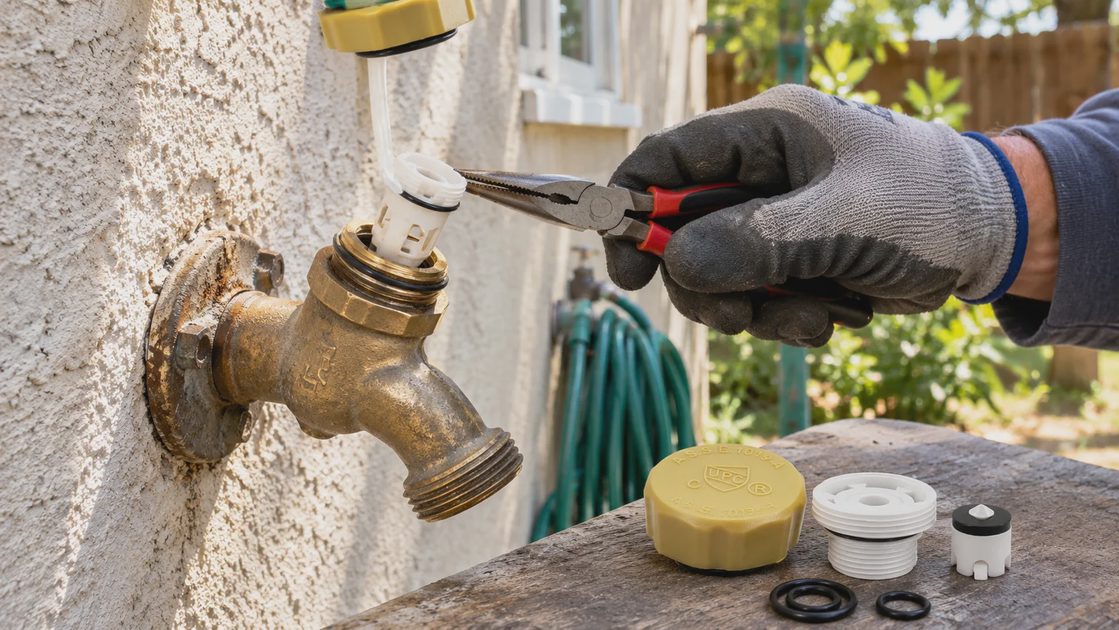
Many outdoor faucets have a vacuum breaker (anti-siphon device) on top. Its job is to open to air when supply pressure drops so contaminated water can’t be pulled back into the house lines. On older frost-free hose bibs the top assembly is the part that fails first—UV, freeze-thaw, or just age hardens the rubber and cracks the plastic.
In my case the leak was coming from that top assembly, not the valve stem or the packing. The faucet body was still sound brass. Don’t assume a solid-looking faucet body means the whole faucet is fine, though. Check where the water is actually coming from before ordering anything.
Why I Tried the $8.99 Repair First
Here’s the rough cost comparison I ran in my head before ordering:
Option | What it meant for me |
|---|---|
Vacuum breaker repair kit | $8.99 |
Full frost-free faucet | About 80 + fittings |
Plumber | More labor and a larger job |
The faucet body was good. The leak was isolated to the vacuum breaker. Tools needed were basic. Twenty minutes of work versus a full faucet swap felt like the right first move. I’ve already paid for the lesson of jumping straight to replacement when a smaller part would have done the job.
What Came in the Kit
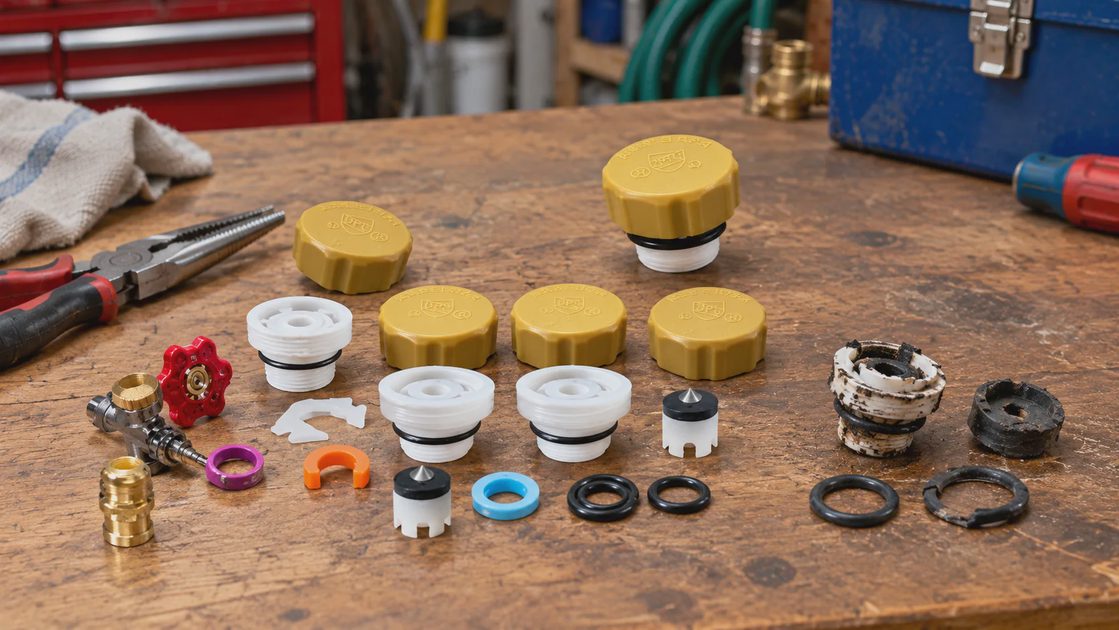
Before installing anything I compared the new assembly with the old one and checked the diameter and fit. I wasn’t going to find out after taking the faucet apart that I’d ordered the wrong part. The kit included the vacuum breaker assembly (body and plunger), a new decorative cap, and spare O-rings and plunger seals. Material is ABS plastic. The manufacturer lists it as compatible with common outdoor faucet vacuum breakers; I still verified it against the piece I removed.
How the Repair Went
I shut off the water to that zone, opened the faucet to relieve pressure, and used needle-nose pliers to pull the old white plastic insert. The rubber had a chunk missing, and the O-rings were flattened. I didn’t have to remove the faucet from the wall. The new assembly went in next. The only part that took a little patience was keeping the center plunger upright and centered while seating it. Once it was in, I screwed the new decorative cap on, turned the water back on, and checked for leaks. None.
The first repair was the real test. A few weeks later the same top assembly on another outdoor faucet started weeping. I used the same kit instead of ordering a full faucet. The second install took about the same amount of time—under twenty minutes once the water was off.
Practical Notes from the Work
Keep the center piece upright while seating it. If it tilts, the seal won’t seat cleanly.
I prefer the threaded decorative cap because it gives the assembly a more secure fit.
This only addresses the vacuum breaker. If the stem or packing is leaking, you still need a different repair.
Confirm your faucet is a compatible frost-free / sillcock style before ordering.
What Worked — and Where It Falls Short
Six months after the first repair, both faucets are still dry at the top. After six months outdoors, the ABS assembly still looks and works normally. The spare seals were useful during the second install when one O-ring got nicked.
It is still a targeted repair, not a universal fix. If the faucet body is cracked, the stem is worn, or the leak is coming from inside the wall, this kit won’t help. ABS plastic handles normal residential weather, but repeated hard freezes or impact can eventually crack it the same way the original failed. The install requires a little care to keep the plunger centered; force it crooked and you’ll create a new leak.
I also wouldn’t count on this for a faucet that sees heavy daily commercial use. For normal residential hose bibs on an older house it has held up so far.
What I Would Check Before Ordering
I wouldn’t order this just because an outdoor faucet is leaking. Before I buy another one I check:
Where exactly is the water coming from?
Is the faucet body still sound?
Is the stem or packing leaking?
Can I shut off the water completely?
Is this faucet compatible with the replacement part?
If any of those answers are unclear, the $8.99 repair stops being the obvious first step.
When I’d Stop and Call a Plumber (or Replace the Whole Faucet)
I’d put the kit down and change plans if:
The faucet body is cracked.
The leak is coming from inside the wall or the supply line.
The shutoff doesn’t fully stop the water.
I can’t clearly identify the source of the leak.
Removing the old assembly risks damaging the remaining faucet.
At that point the problem has moved beyond a removable top assembly. It stops being an $8.99 repair in my book and becomes a full faucet or a service call.
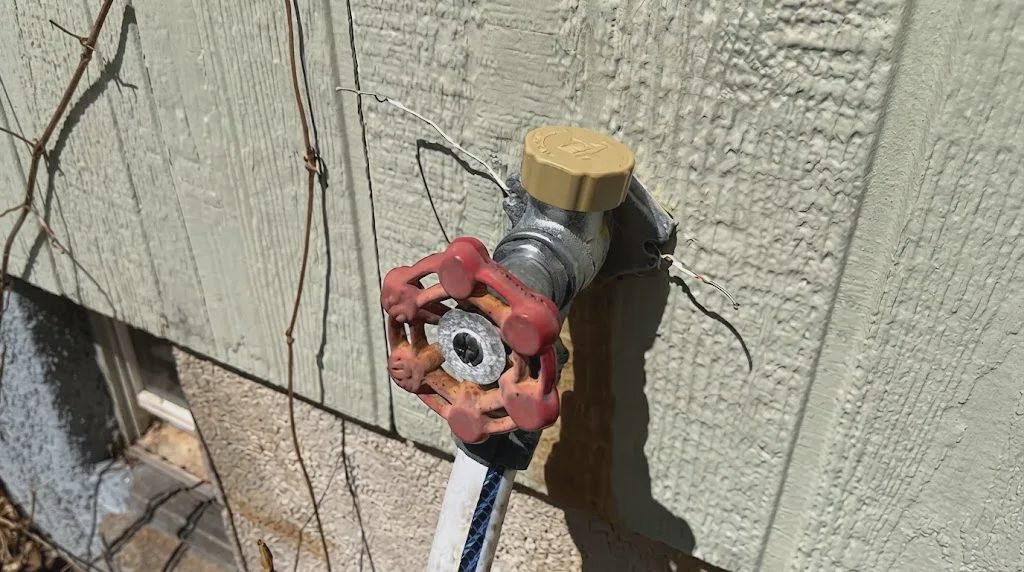
What You’re Actually Paying For
What I got | What mattered to me |
|---|---|
Vacuum breaker assembly | Replaced the failed top piece |
Spare O-rings & seals | Useful during install |
Decorative cap | Included, threaded |
ABS construction | Held up outdoors without issues so far |
Price when I bought it | $8.99 |
For me the math stayed simple: under ten dollars and twenty minutes versus a full faucet, possible fittings, and more time. That only holds when the body is still good and the leak is isolated to the vacuum breaker.
Who This Makes Sense For — and Who Should Skip It
This repair is worth trying if the faucet body is solid, the leak is clearly at the top assembly, and you’re comfortable with basic tools and a water shutoff. It’s especially useful on older houses where the hose bib itself is still serviceable and you want to avoid turning a small drip into a larger job.
Skip it if the body is cracked, the stem is the problem, or you simply prefer to replace the entire faucet for a clean start. In those cases a full frost-free unit is the cleaner long-term move.
Six Months Later
Six months after the first repair, both faucets are still dry at the top. The first repair has held through the rest of the season. The second one has done the same. I still check for new drips the way I would on any outdoor plumbing, but the top assemblies haven’t needed another intervention.
I wouldn’t replace a sound faucet just because the vacuum breaker failed. If the body is sound and the failure is isolated, I’d try the targeted repair first. That’s the decision I made on my own house, the cost I paid, and the result six months later.


No comments yet — be the first to share a thought.