A light switch push button can be exactly the detail that makes an old-house renovation feel finished instead of newly manufactured. It can also become a $300 lesson if you buy a decorative part that does not fit the electrical box, cannot handle the circuit, or looks right online but cheap in person. I have installed enough switches in 1920s Craftsman homes to know that the small hardware deserves the same planning as the cabinet pulls.
The practical question is not simply whether a light switch push button looks period-correct. You need to know whether it is a modern electrical device, a surface-mounted reproduction, or only a button-style cover hiding a standard switch mechanism. Those are different products with different installation requirements.
What a Push-Button Switch Actually Is
Original push-button switches were common in early twentieth-century homes. Pressing one button turned the lights on, while pressing the other turned them off. The mechanism was mechanical and satisfying, but decades of arcing, dust, loose connections, and overloaded circuits made many originals poor candidates for continued use.
A new light switch push button usually falls into one of three categories. The first is a listed replacement switch with push-button operation and standard wiring terminals. The second is a modern toggle, rocker, or smart switch installed behind a decorative push-button plate. The third is a reproduction that resembles an antique device but is intended mainly for visual restoration.
That distinction matters. A plate can look authentic while the switch behind it is a normal single-pole device. There is nothing wrong with that approach if the electrical parts are properly rated and installed. In fact, it is often the cleanest choice for an occupied house with children, renters, or a busy renovation schedule.
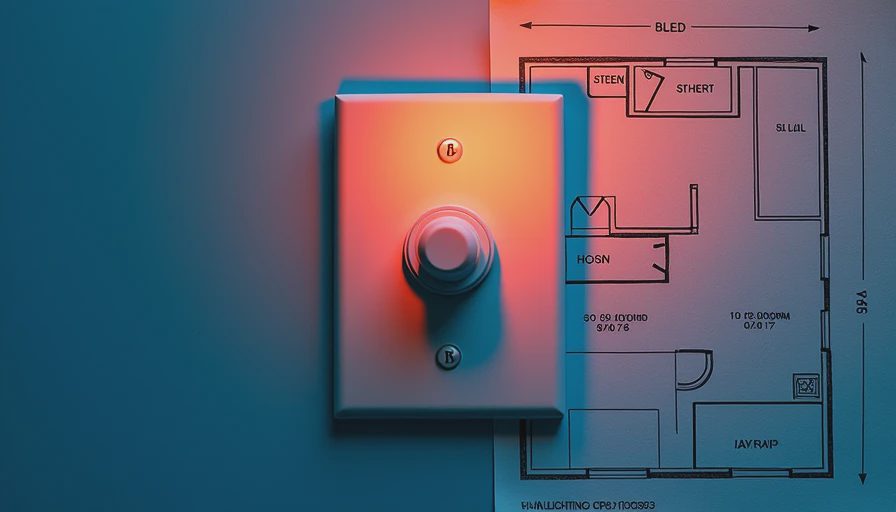
Before ordering, remove the existing wall plate and photograph the wiring. Do not touch exposed conductors, and shut off the breaker before any inspection beyond looking. Count the insulated wires, note whether a bare copper or green grounding wire is present, and measure the electrical box depth if the switch is crowded. Old boxes are often shallow, especially in plaster walls, and a bulky specialty switch may not fit without damaging the plaster.
Choosing the Right Device for the Circuit
A single-pole switch controls one light from one location. A three-way circuit controls one light from two locations, such as a hallway fixture with switches at both ends. A four-way arrangement adds another control point. Many homeowners order a light switch push button designed for a single-pole circuit and discover that the hallway no longer works correctly.
Read the product specifications for voltage, amperage, wire type, and circuit configuration. Most residential lighting circuits are 120 volts, but that does not mean every decorative switch is appropriate for every load. Some products are rated for incandescent bulbs but not LED drivers or fans. Others require a neutral wire for smart functions, and older homes frequently have no neutral conductor in the switch box.
Grounding is another issue I do not treat casually. A metal cover plate and metal box need a dependable grounding path where required. Replacing an old two-wire switch with a fancy device does not magically create a ground. If the wiring insulation is brittle, the box is loose, or the circuit has aluminum wiring, stop and bring in a licensed electrician.
What It Costs in a Real Renovation
The decorative part can cost $20 to $45 for a basic reproduction plate, $50 to $100 for a better-made push-button device, and $120 or more for specialty finishes or matching multi-gang assemblies. The cheapest option is rarely the least expensive. I once bought a $24 reproduction because the photos looked excellent. The buttons felt loose, the screws stripped during installation, and the plate sat crooked against uneven plaster. Replacing it after paint touch-up cost more than buying the solid brass version first.
For a straightforward switch replacement, an electrician may charge roughly $100 to $200 when the work is combined with other calls. A single service visit can run higher because of minimum charges. If the box needs replacement, expect another $75 to $200 depending on access. Repairing damaged plaster, repainting, or correcting old wiring is a separate line item.
For a room with six switches, I would budget $300 to $700 for quality devices and professional installation before wall repairs. A whole-house restoration with matching plates can pass $1,500 quickly. Get it in writing. Always. The quote should state the number of devices, circuit types, plate finish, box repairs, and whether painting is included.

When a Modern Switch Is the Better Answer
A period-looking light switch push button is not automatically the best choice in every room. In a kitchen, workshop, or child’s bedroom, I care about reliable operation, cleanability, and replacement availability. A standard listed switch from Leviton, Lutron, or Eaton is easy to source and easy for the next electrician to understand. You can still use a vintage-style plate to keep the room from looking like a hardware showroom.
For dimming, make sure the device is compatible with the exact LED bulbs. Flickering is usually not a character feature; it is a compatibility problem. Smart controls bring additional limits. Many require a neutral wire, a compatible hub, or a minimum load. Confirm those requirements before opening the wall, particularly in a 1920s house where the wiring may have been altered several times.
I used modern dimmers in my own dining room and saved the push-button styling for the hallway and bedrooms. That compromise cost less than installing specialty controls everywhere, and the rooms still belong together visually. Pretty on the brochure, expensive in real life is a fair description of a whole-house hardware package.
Installation Problems That Show Up After Paint
The most common issue is alignment. Old plaster is rarely flat, and a rigid plate will highlight every wave in the wall. An electrician can make the box level, but the surrounding plaster may still need patching. Install the electrical device first, then let the painter fit the finish around it rather than trying to force a crooked plate into a completed wall.
The second issue is depth. Folded wires behind a deep decorative switch can push the device forward, leaving a gap at the plate. Do not solve that by tightening screws until the plate bends. A proper box extension, wire organization, or slimmer device is the fix.
Finally, test every control before final caulking. Check each button, dimmer range, three-way location, and light fixture. If the switch is warm, crackles, smells scorched, or feels mechanically loose, turn off the circuit and stop using it.
My Buying Checklist for an Old House
Start by identifying the circuit: single-pole, three-way, or another arrangement. Photograph the existing wiring with the power off and measure the box. Choose a listed device from a manufacturer that publishes wiring instructions, not just attractive product photographs. Confirm LED, dimmer, amperage, and grounding compatibility. Order one sample before buying twelve, because finish color and button feel are impossible to judge from a screen.
When the first unit arrives, test its fit against the existing box and plate. Check whether the screws line up, whether the button moves firmly, and whether the finish looks appropriate beside your trim. If the product requires unfamiliar wiring or the wall box is damaged, pay for an electrician. I have already paid for this lesson: saving $80 on installation is not a bargain when it turns into a weekend of plaster repair.
The right light switch push button should be safe, serviceable, and proportionate to the house. Buy one sample, photograph the wiring, and get the installation price in writing before ordering the rest.


No comments yet — be the first to share a thought.