The short answer to “do i need a vapor barrier” is: sometimes, but not automatically. In an old house, adding plastic to every wall is not moisture control. It can trap water inside a wall assembly that has survived for 80 years by drying slowly in both directions. I have opened walls where the expensive “upgrade” was the reason the framing started to rot.
A vapor barrier, more accurately called a vapor retarder in many residential applications, limits the movement of water vapor through a wall, ceiling, or floor. It is not the same thing as waterproofing, and it will not stop bulk water from a leaking roof, failed flashing, plumbing leak, or wet foundation. Those problems need to be fixed at the source.
Start with the climate and the wall assembly
The right answer depends on where the house is, how it is heated and cooled, and what materials are already in the wall. A wall is an assembly, not a collection of unrelated products. Siding, sheathing, insulation, drywall, paint, and interior finishes all affect how moisture enters and leaves.
In cold climates, warm indoor air can carry vapor toward a cold exterior wall. A vapor retarder on the warm-in-winter side can reduce condensation inside the assembly. In hot, humid climates, the vapor drive can reverse, especially when air conditioning keeps the interior cool. A layer placed on the wrong side can hold humid outdoor moisture against framing.
Southern California creates a different problem. Many older homes have little insulation, wood siding, plaster, and walls that dry reasonably well. In that setting, a sheet of interior polyethylene can be more trouble than help. A good exterior paint system, repaired flashing, controlled indoor humidity, and careful air sealing usually matter more than covering every stud bay with plastic.
The building code in your area may also specify vapor-retarder classes or insulation requirements. Code is the minimum standard, not a substitute for understanding the existing wall. If you are changing an exterior wall, ask the building department or a qualified building professional before ordering materials.
Do I need a vapor barrier in an old house?
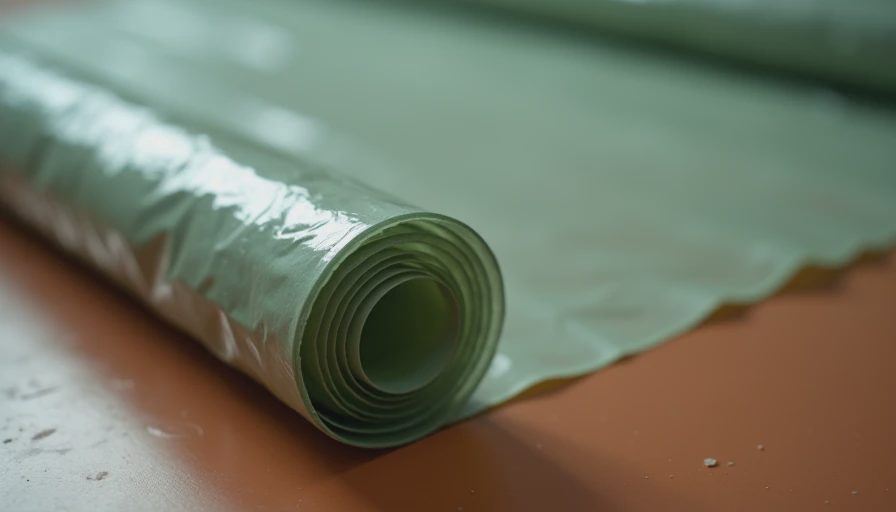
For most old-house walls, I would not install a Class I vapor barrier automatically. Class I materials, such as polyethylene sheeting and foil-faced products, allow very little vapor movement. Class II and Class III retarders, including some kraft-faced insulation and vapor-retarding paint, allow more drying potential.
That distinction matters. On one 1923 Pasadena bungalow, a contractor had proposed six-mil plastic behind new drywall because the house had cold bedrooms. The estimate added about $1,100 in material and labor. The real issue was missing exterior caulk, gaps around windows, and an attic that had almost no insulation. We skipped the plastic, repaired the envelope, air-sealed the top plates, and insulated the attic instead. The bedrooms became more comfortable without turning the walls into sealed bags.
If an old wall is dry, has no musty odor, and shows no staining or peeling paint, do not create a moisture problem while trying to prevent one. If you find damp framing, deal with the leak and drying process first. New insulation and drywall should not hide wet wood.
When a vapor retarder makes sense
There are situations where the answer to do i need a vapor barrier is clearly closer to yes. A below-grade basement wall, a newly framed addition, or a major insulation retrofit can require a designed moisture-control layer. The details depend on the foundation type, exterior drainage, local climate, insulation type, and whether the wall can dry inward or outward.
For example, rigid foam on the exterior can control condensation while allowing the interior side to remain relatively vapor open. Closed-cell spray foam can also act as a vapor retarder at sufficient thickness, but it is not a magic fix for a wet basement. Its installed price commonly runs several dollars per square foot, and removing it later is unpleasant and expensive.
In a crawl space, the ground moisture is usually the first concern. A properly installed ground vapor retarder, with seams overlapped and sealed, can reduce evaporation into the crawl space. That is different from stapling plastic across the inside of an exterior wall. I have seen homeowners spend $2,000 on wall plastic while leaving exposed soil and standing water below the house.
Get the moisture path identified before choosing the product. Water vapor, air leakage, rain penetration, and plumbing leaks behave differently. Treating all four with polyethylene is how a simple repair becomes a demolition project.
What I would inspect before buying materials
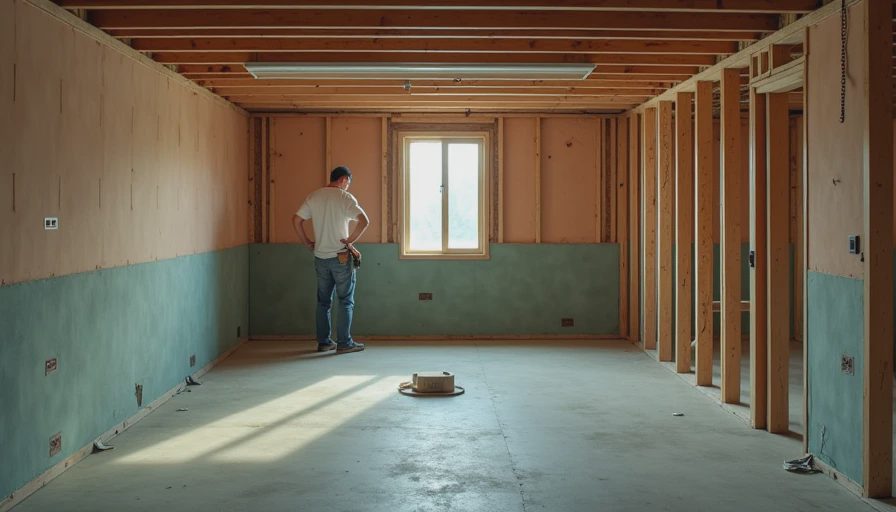
First, look outside. Check roof edges, gutters, downspouts, window head flashing, siding joints, and the ground slope around the foundation. A downspout dumping beside the footing can put more water into a wall than any vapor retarder can handle.
Second, inspect from the inside. Remove one outlet cover or a small section of baseboard rather than opening an entire wall immediately. Look for darkened wood, rusted fasteners, soft sheathing, insulation that has collapsed, and a musty smell. A pinless moisture meter can help locate suspicious areas, but it does not replace opening a representative section when the evidence is strong.
Third, identify the existing layers. Note whether the wall has plaster, drywall, tar paper, kraft paper, foil, old sheathing, or multiple paint layers. In houses built before modern insulation standards, the existing materials often provide some vapor resistance already.
Finally, consider indoor humidity. Bathroom fans that vent into an attic, unvented dryers, and humidifiers can push moisture into the building. A $30 to $80 hygrometer is cheap compared with replacing rotten wall framing. Winter indoor relative humidity around 30% to 40% is often more manageable in cold regions, while comfort targets depend on the home and climate.
The cost of getting it wrong
The plastic itself is inexpensive. A roll might cost $40 to $100 for a typical room, but installation requires careful sealing around outlets, windows, doors, electrical boxes, and floor and ceiling transitions. Done badly, it becomes a perforated sheet with a false sense of security.
The expensive part comes later. If trapped moisture damages framing, repairs can involve demolition, mold cleanup, replacement insulation, new drywall, primer, paint, and trim. A localized repair might cost $1,500 to $4,000. Widespread hidden rot can move beyond $10,000, especially when siding or interior finishes must come off. The cheapest option is rarely the least expensive.
When someone asks do i need a vapor barrier, I ask what problem they are trying to solve. Cold rooms point toward insulation and air sealing. Damp basement walls point toward drainage and foundation waterproofing. Condensation on windows may point toward indoor humidity or inadequate ventilation. A vapor retarder belongs in a complete assembly, not as a reflex purchase.
My practical recommendation
Before closing any wall, photograph every layer and write down the direction each material faces. Get the proposed assembly in writing from the contractor, including insulation type, vapor-retarder class, air-sealing method, and drying direction. If the contractor cannot explain where the wall dries after a leak, stop before the drywall arrives.
For a small, dry wall repair, use compatible materials and preserve the wall’s ability to dry. For a basement, addition, or whole-house insulation project, pay for an experienced building-envelope evaluation. That consultation may cost $300 to $800, but it is cheaper than opening a finished wall twice.
The concrete next step is simple: take one representative wall section, inspect its layers and moisture condition, then base the decision on that evidence. Do i need a vapor barrier? You will get a much better answer from one careful opening than from a product label or a heated internet argument.



No comments yet — be the first to share a thought.